I am so, so excited that I finally tackled and finished this project. It's been on my to-do list since I first saw my original inspiration pictures on Pinterest. Here are the dreamy photos that inspired this project to begin with. Totally not my idea. This is me being a big ol' copycat.
I knew I wanted some chocolate-y brown wood in Little Ninja's nursery since everything else is so light and white. I love the faded stripes in the first photo and love the scale and wood-tone of the second photo.
So, here's a step-by-step tutorial on how I made my own version of the two.
DIY Growth Chart Tutorial
First, I purchased a large pine board from Lowe's. I chose the nicer looking wood that has less knot-holes. I didn't want them bleeding through under my purty white stripes. I also dug out some wood stain that I already had from a previous project. I used Varathane Gel Stain in Special Walnut:
 |
| Supplies: Pine board, foam roller, gel stain. |
Using a foam brush, I applied two coats of stain on all sides of the pine board. I waited a few hours in between coats and made sure to apply the stain outside where there was lots of ventilation. Stain = stinky:
 |
| After two coats of Special Walnut stain. |
I found some large number stickers at Michael's that I thought would be super easy to use rather than making my own number stencils (like I've done in the past). I also don't have a Silhouette machine or anything fancy. Stickers it would be:
 |
| Large number stickers from Michael's. |
I tinkered around with the measuring tape for a while trying to figure out the measurements. It helped to lay the stickers out on the wood to visualize how it might look:
 |
| Figuring out the measurements. |
Once I decided where everything would go, I used a square thingy from the basement to make sure the lines for my stripes were nice and straight:
 |
| Marking the lines for my stripes. |
Next I taped off where my stripes would go, and also taped off a section at top and bottom where I wanted Alex to trim the board with his table saw:
 |
| Taping the stripes. |
Once my board was trimmed I painted some 6-inch stripes using a small paintbrush and some flat white paint that I had leftover from a previous project. I applied two coats of paint for the stripes:
 |
| Painting the stripes. |
Next I removed all of the tape:
 |
| After removing the tape. |
I wanted my numbers to be white, so I made sure to apply the background of each sticker to the unpainted wood sections:
 |
| Adding the stickers. |
After making sure the stickers were adhered really well, I painted the inside of each number with a small craft brush. I ended up needing three coats of paint for inside each number:
 |
| Painting the numbers. |
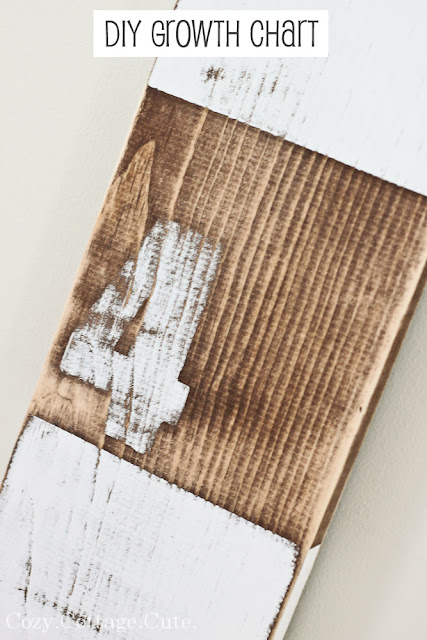
Once the paint was dry to the touch, I peeled off each sticker, and was left with crisp white numbers:
 |
| After removing the stickers. |
My stripes and numbers didn't stay crisp-looking for long. I let everything dry overnight and then used an electric sander and 100-grit sandpaper to sand the living daylights out of 'em:
 |
| After sanding with 100-grit sandpaper and electric sander. |
I wanted the board to look really worn and faded and old since I have some really crisp and new elements in the nursery. I wanted quite a bit of contrast.
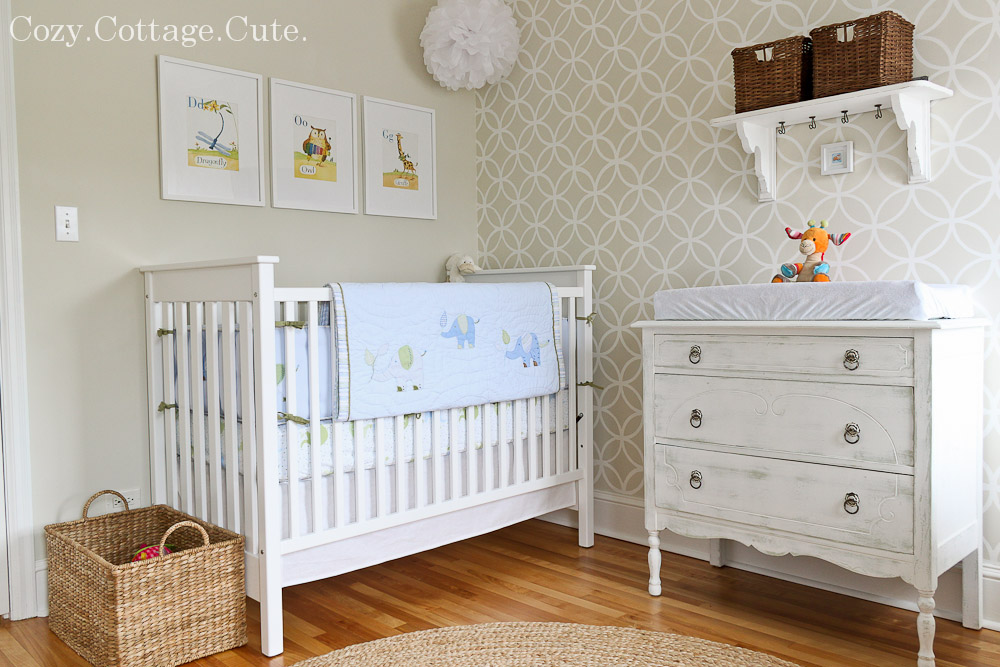
So...... here are some photos of the finished project, although again I'm trying not to show you too much of the room just yet. :)
Pinterest challenge - done!
I think I might be smitten.
We installed the growth chart behind the door to the room since that section of wall was kind of bare-looking when the door was closed.
{Note: I decided not to add any ruler lines because I like how simple it looks and didn't want to make it too busy looking.}
Now I only have two more little things to tweak this weekend before I show you the whole room on Monday.
Weeeeeeeeeee!
P.S. If I missed any steps or if you have a question about this project please feel free to leave me a note in the comments section. :)
P.S.S. To see the growth chart in the finished room, click
here.
Sharing Here: