Are you looking to start a small-scale home-based business and searching for a productive hobby that wouldn’t gobble all your time or trying to gift that environmentalist friend of yours a little handmade present?
Whatever you are here for, homemade soy candles will keep you on the right track. Handmade candles have been a craft craze for quite some time now, and you know that because that one member of your group chat just wouldn’t stop talking about it.
And if you have ever wanted to start experimenting on your own but didn’t know where to start, we have the perfect way to kick it off. Candle-making can seem like a tedious process with a lot of heat and materials. But with these simple steps to make soy wax candles, anyone can master the art at their own pace using very readily available ingredients that have the added advantage of being sustainable.
Why is Soy Wax Preferable?
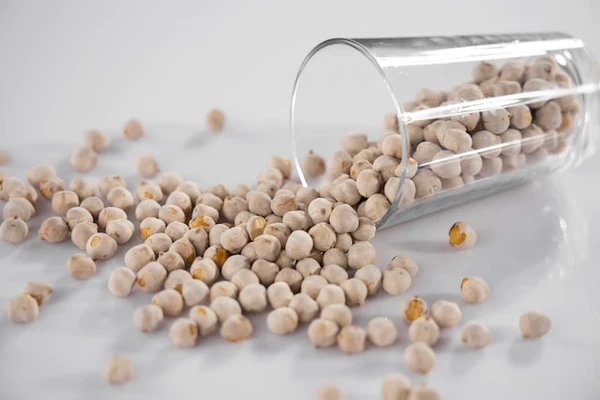
Soy wax, also called natural wax, is made by processing oil extracted from soybean. It is a pure hydrogenated oil made from plants. Using soy wax instead of traditional paraffin wax can be confusing for many, especially with the common idea that soy wax costs so much more. Even Though they do differ in market price, this small difference is easily overshadowed by the numerous advantages soy possess:
- They are biodegradable and thus environmentally friendly.
- Due to their very low emissions and clean-burning, this could be a perfect candle to use at home.
- Nontoxic as it emits no carcinogens.
- If you are careful with the ingredients used while shopping for the wax, you could end up having fully vegan candles.
- And more importantly, they just rock with natural fragrances!
Easy Steps to Make Soy Wax Candles
1. Select the Perfect Wax
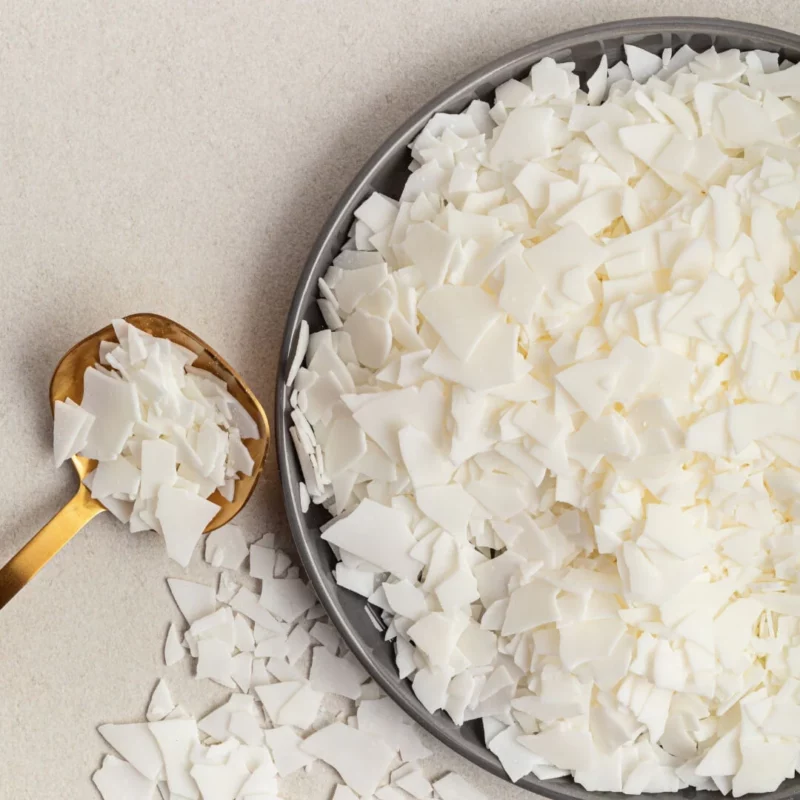
Now that we are wooed by the incredible properties soy wax possesses, it is equally important not to go for any soy wax available in the market. The type of wax you choose will determine the melting point, the scent throw, and the burning characteristics of your candles. Find your perfect match considering these factors:
- Check for the type of wax. Some producers make wax using soybean oil alone, whereas others go for a blend of a few other oils. This proportion of oil to oil can affect the physical properties of your wax, hence requiring different heat to melt, time to set, etc.
- Additives used can vary from wax to wax and have influences.
- Colored or not! Users can go for personalized options in this field and get a little crazy with colors. Many manufacturers use different dyes to get these wax. Their colors have different effects on wax chemistry but not too much to have that big of changes. If you are looking to go fully natural, you could always sustain the original color of the candle or go for natural colorings that can be store-bought or simply done at home:
-
- The spirulina imparts a green hue
- Madder root has a nice light peach shade.
- Peppermint gives candles a very light green shade.
- Alkanet gives a bright burgundy-red shade.
- Turn the wax a warm yellow shade using annatto seeds.
2. Melting the Wax

This is the first and foremost step in candle making. After you have selected the right wax for your needs, get these wax flakes or tablets into a boiler. The measurement, on average, is four cups melted into two cups. You can either microwave or use a double boiler.
- While microwaving, use a microwave-safe glass cup and heat it. After two one-minute sessions with proper stirring in the intervals, cut the time down to 30 seconds.
- If you are going for the boiler method, take the solid wax into a pitcher. Place a saucepan or pot filled with 1⁄3 water and heat it. Now place the pitcher inside. Stir continuously and thoroughly so as to leave no lumps or cause uneven heating. The time for this process may vary according to the type of wax.
- If you are planning to add fragrance or so, make sure to stop heating around 175 degrees. The perfect time to do so. Use a digital meat thermometer to check the temperature accurately. If it’s too hot, throw in a bit more wax and melt it.
3. Adding in The Colors
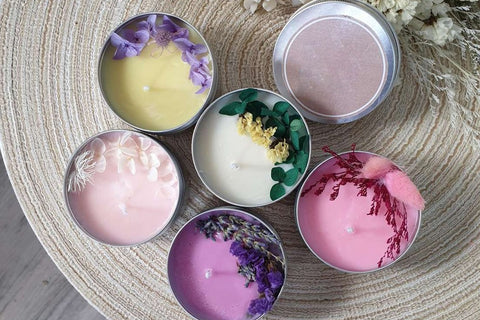
Even though some people love the natural charm of a nude candle, many try a wide range of beautiful shades to liven up the products. There are lots of artificial options available in the market for wax scenting. But if that’s too strong for you or if you want natural fragrances, you could go for the options mentioned earlier.
- Use a coffee filter and fill it with the required ingredients. But if you choose muslin or cheesecloth, there is a chance for minute particles to escape and infuse into the wax. Simply letting the sediments settle or straining them out of coils solve this.
- Take the small pack and dip it into the wax. Do this after the wax has melted. The time you keep it in will influence how strong your color is going to be.
- For proper infusion, leave the bag for around 24 hours. Stir every 4-6 hrs for deeper colors, and leave for another 24 hours.
4. Tie Dye Candles
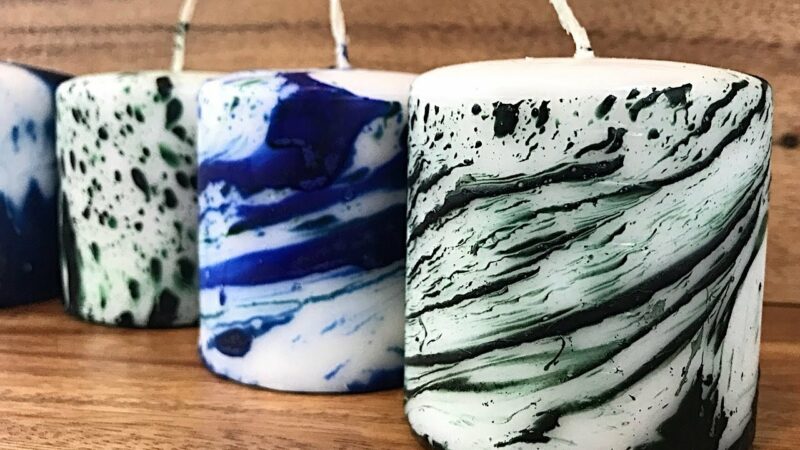
Tie dies are popular, whether it be fashion trends or homemade soy candles. You can get in on the trend with these simple steps:
- Find the perfect combo of dies that could mix into beautiful patterns.
- Insert the dye colors into a paper cup and pour the molten wax into it. Stir to ensure proper blending. You should also set some of the molten wax aside without mixing it into the dye. It will help you to give the tie-dye effect later.
- Take the jar and set the wax. First, pour some dyed wax into the molds till it fills them partially. Now, top them up with the non-dyed wax to give the tie-dye effect to your candles.
- Be gentle with the pouring to ensure beautiful swirls.
4. Scent It Up
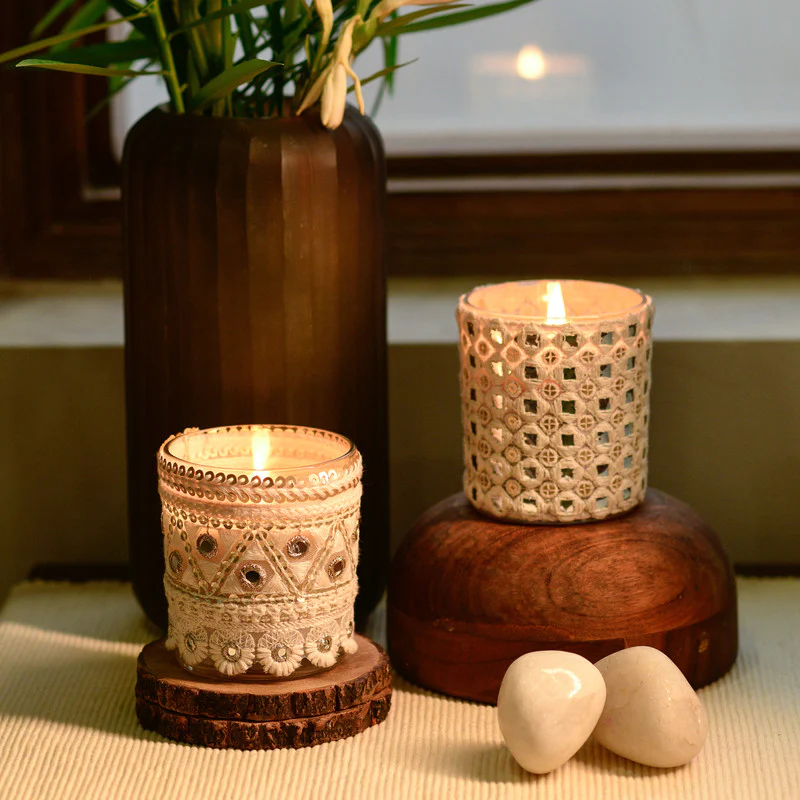
If you are planning on adding fragrance, then this is the time. Most candlemakers prefer scented candles for fresh and lovely rooms. You will find in the market oil or water-based scents. It’s important to know which one is right for you. Oil-based fragrances will not work well in soy candles because they will cause the wax to melt too quickly. Water-based fragrances, against this, are perfect for soy candles.
- After you have selected the oil, treat it into the double boiler just like you did with the wax, stirring it throughout the process. Make sure the oils do not separate.
- Add about 3 Tablespoons (1.5 oz) of fragrance oil to 2 cups of melted wax. This is the convention majority go for. But you could always stray a bit here and there.
- There are a variety of alternatives available if you are not very enthusiastic about essential oils. After the melt has reached around 125 Fahrenheit, add some extracts into it and continue with the process. The options include vanilla extract, lavender extract, tea, and citrus zest… to pretty much the limits of your imagination and kitchen supply.
As soy wax has less scent absorption compared to paraffin wax, it is safer to go for a little bit more than what you would use for the latter.
5. Getting It Set
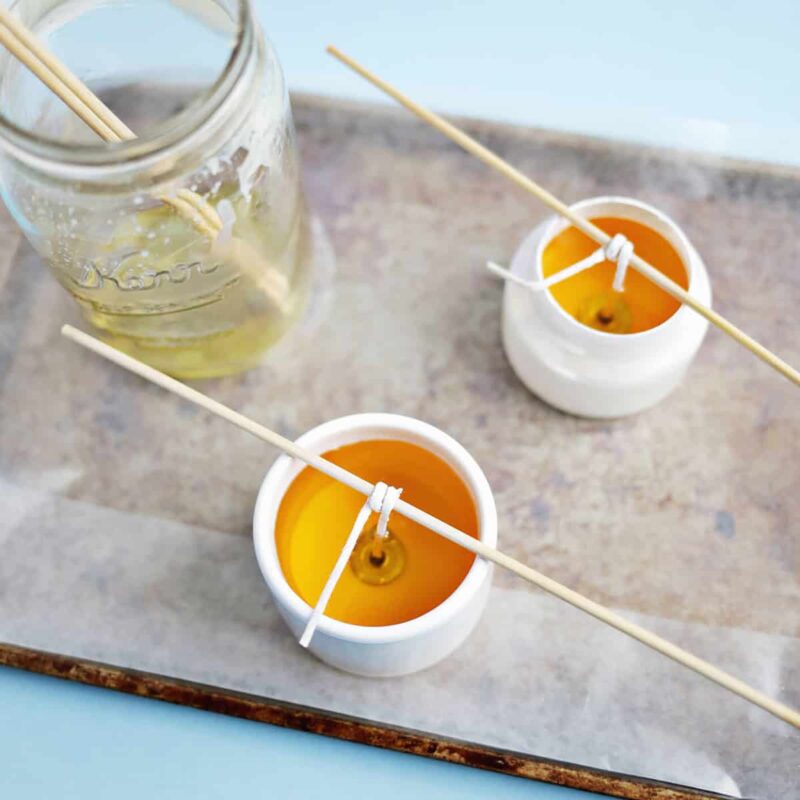
After adding all the required ingredients, now it’s time to set your wax or solidify it. Before we get on with it, there are a couple of things we will have to get ready. This includes cotton wicks with button bottoms, jars, and wick holders. The jars are what people actually see, so go for something that says you. You can find a wide variety of transparent to semi-transparent jars built exclusively for the job from Amazon. But there are also other more economical options, like using an old yogurt jar or just any glass jar lying around.
- Wipe the jars with a clean cloth. Make sure to get all the moisture out.
- Glue the wick to the bottom of the jar using a glue gun.
- Get the wick holder out and place them face up on the jar mouth with the wick kept properly inside. You can just use a couple of clothespins or popsicle sticks instead.
- Pour the wax in. Use a funnel to avoid spillage. Also, be careful with the temperature, as cooling down wax that is too hot can cause cracks.
- Keep the jars in a secure place to cool down. Some ask whether to keep it in the freezer for faster cooling. But neither is your freezer designed for that kind of heat nor do you actually require a freezer for the process. So it’s safer to choose the good old method.
- The curing can take hours long. For better-scented candles, many recommend leaving it for one to two weeks.
- Its advisable to fill the jar leaving ¼ an inch above.
- Try maintaining an even surface on the top.
Which Soy Wick to Use?
The number and size of wicks depend on the size of the jars you are planning on using. If you have a pretty wide jar but burn it with a single wick in the center, the wax at the ends may be left untouched, and that could lead to wastage.
You coil use two or three wicks or pick the ones with larger diameters and make a soy wax candle with zero wastage.
6. Trim the Wick and Viola
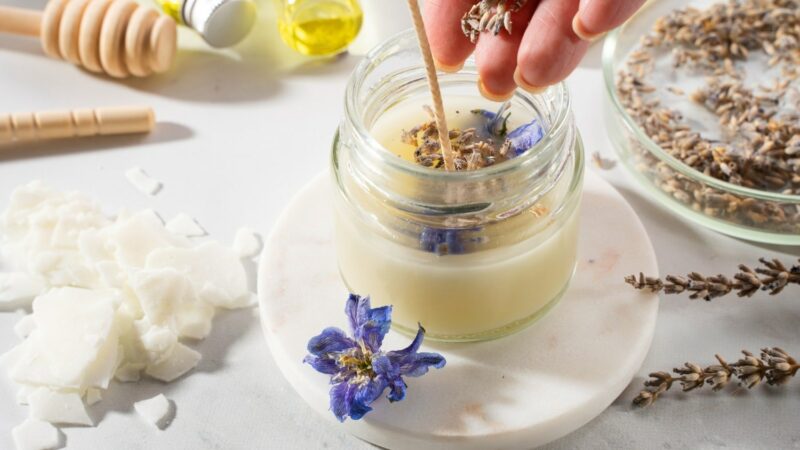
In case you want to add some decorative elements to your jars, do that after pouring in the mix. Confused about what to throw in? You guessed it.. Sky’s the limit. Keeping in mind the fact that these pieces will burn with the candle, go for any options that don’t charr or leave smells bad when burned.
Trim the wick to your convenience and enjoy.
Final Thoughts
Finishing up with the process and getting your hands on a soy wax candle not only gives you a more natural, healthier, and economical option rather the satisfaction of creating something so beautiful. Largely customizable in case of scent, color, and looks, you can make soy wax candles with the above-mentioned steps to give yourself or your loved ones a hearty and personalized gift.
Candle-making enthusiasts also go for more options, like integrating layers of different colored waxes into a single jar. This may take more of your time, but the result is simply stunning.
An option like making candle pens is ideal for drawing and writing on your candles. Using a brush or sponge, this paint can be applied to your candle. Use self-adhesive ribbons that adhere perfectly to wax, glass, plastic, wood, and paper. Paint the glass jars using glass paints and help your candle glow!


