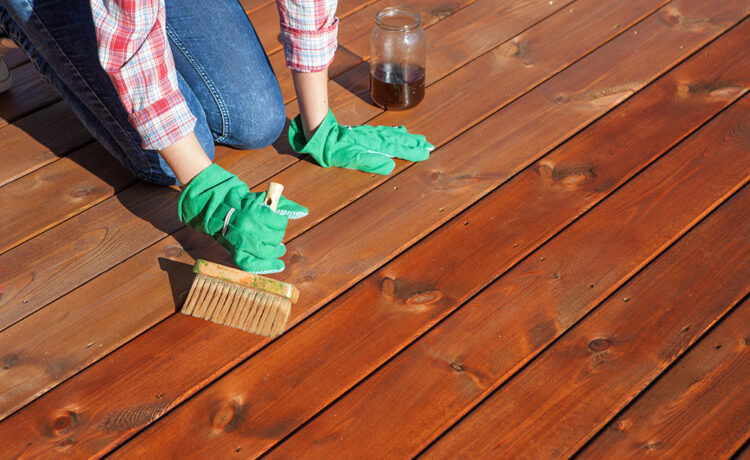
Are you looking to paint your wood with Acrylic paint? Look no further! This versatile paint allows you to paint various surfaces while effortlessly creating textures and effects.
Acrylic paint is known for its versatility and ability to adhere well to different materials, including wood. With its wide range of colors and finishes, you can paint any wood you want with your preferred style. Whether you’re reviving old furniture, creating custom signs, or designing unique home decor, acrylic paint offers a fantastic way to add character to your wood.
Together, we will see different ideas for using acrylic paint for wood, from preparing the surface to selecting the right brushes and techniques. Let your wood painting journey begin by looking at these 13 beautiful tips to paint on wood with acrylic colors!
1. Clean and Sand the Wooden Surface
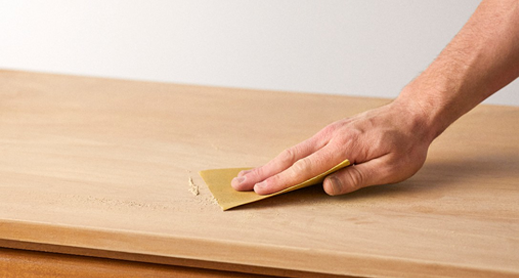
Before you use acrylic paint for wood, it’s crucial to start with a clean and sanded wood surface. Begin by thoroughly cleaning the wood to remove dirt, grease, or debris. Use a slightly damp cloth and gently wipe the surface to remove dust and dirt. Do not use any material that might leave lint. Once the wood is clean and dry, grab a sandpaper with medium grit and scrub the surface toward the wood grain.
Sanding helps to remove imperfections, even out rough areas, and provide a smoother surface for the paint to stick. Remember to wipe away any dust created during sanding.
This is a crucial step as it sets the foundation for a successful painting job, ensuring that your acrylic colors stick well to the wood and give a professional-looking finish.
2. Seal and Prime the Wood
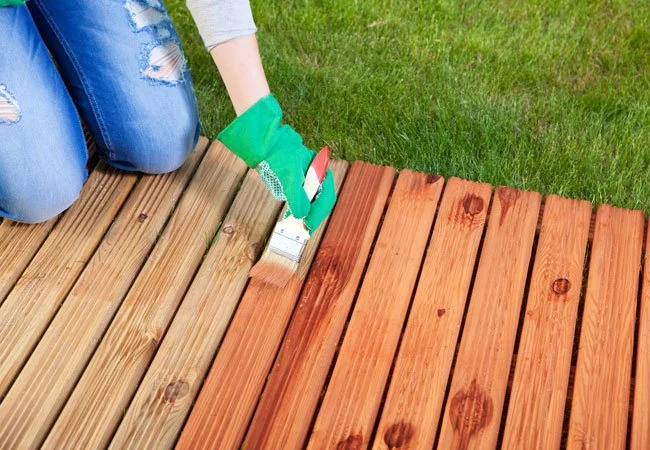
Sealing and priming are vital steps when applying acrylic paint to wood. It enhances the overall durability and appearance of your project. Apply a clear sealer or varnish to protect the paint and wood from moisture, UV rays, and general wear and tear.
Ensure you choose a sealer compatible with acrylic paint for wood. Apply multiple thin coats, allowing sufficient drying time between each layer. Using a seal makes applying the paint layers much easier. Then, apply a wood primer specifically designed for acrylic paint.
Priming helps create a smooth, even surface, improves paint adhesion, and prevents the wood from absorbing too much paint. While a sealant protects the wood from the paint, a primer helps make the paint easier to apply. Sealing and priming not only provide a professional finish but also extend the longevity of the wood.
3. Choose the Best Paint
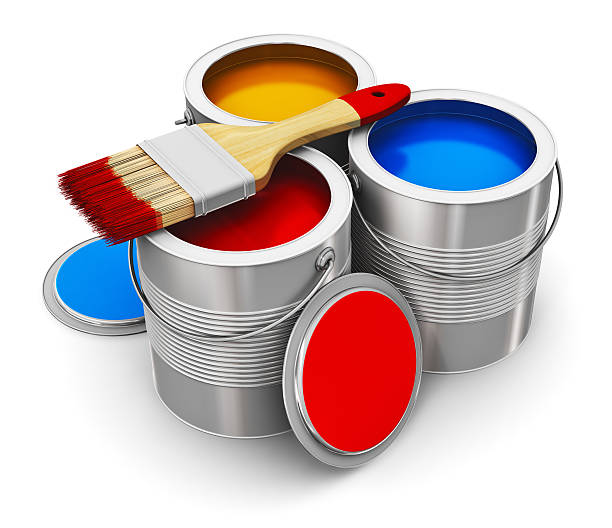
Choosing the right paint is essential for achieving the desired results on your project. When selecting acrylic paint for wood, opt for high-quality, artist-grade acrylic paints that offer good coverage and color profile. Do some prior research on the exact paint type. Look for paints specifically made for use on wood surfaces. Consider your project’s requirements, such as if you need opaque or translucent colors.
Acrylic paints for wood come in various finishes, including matte, satin, and glossy, so choose the one that suits your desired aesthetic. Additionally, consider the color range available and select the shades that complement your overall design and enhance your product.
It’s worth investing in a few basic colors and mixing them to achieve custom shades. Choosing the most appropriate paint for the task will ensure vibrant, long-lasting results showcasing your skills.
Some paint for Acrylic wood that you can consider:
- Artistic Grade Glossy Acrylic Paints
- Opaque Acrylic Paints
- Transparent Acrylic Paint
- Matte Acrylic Paints
4. Choose the Right Brushes

Generally speaking, different brushes work for different art styles. When choosing brushes for acrylic paint for wood, try synthetic brushes with firm bristles. Look for various sizes to accommodate different areas and details of your project. Flat brushes work well for covering large areas, while round brushes are great for finer details and precise lines.
You can also use a combination of wet and dry brushes to create different effects. When combined, they create many different and vibrant textures that make the product stand out. Choose brushes of good quality with durable bristles to ensure longevity and control while painting.
Cleaning and maintaining your brushes properly leads to a much better result. With the right selection of brushes, you’ll have everything you need to achieve smooth and precise brushstrokes in your activity.
5. Paint a Base Layer
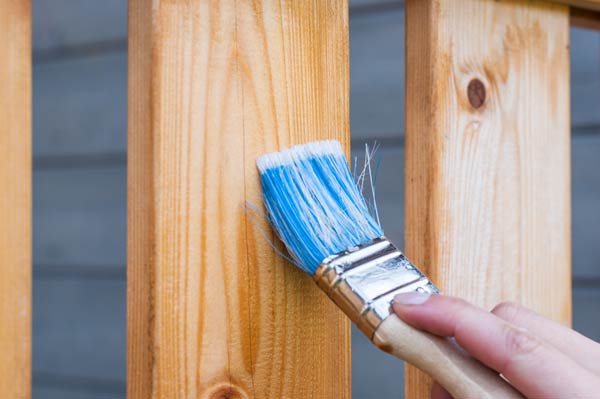
While using acrylic paint for wood, creating a solid foundation is very important. Painting a base layer is a great way to get things going. Once you select the desired color for your base layer, apply an even coat of acrylic paint across the wood surface.
Choose the color you want as your background. Ensure the paint covers the entire area smoothly, paying attention to any crevices or corners. Allow the base layer to dry completely before moving on to additional layers or adding further decorations.
The base layer helps provide an even surface for subsequent layers of paint, enhances color vibrancy, and ensures better adhesion. By painting a solid and well-prepared base layer, you set an appropriate tone for a successful and visually appealing coat of acrylic paint for wood.
6. Keep Adding Details
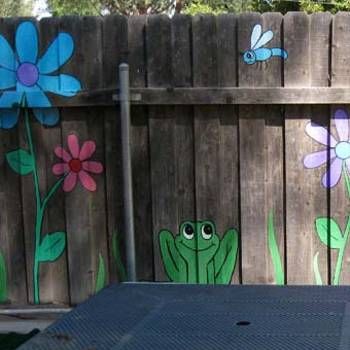
Once your base layer is dry, it’s time to bring in the finer elements. Adding these touches is where your acrylic paint for wood comes to life. Use smaller brushes with pointed tips to add intricate details, textures, and highlights.
Pay attention to the subject of your painting, whether it’s the texture of the wood or adding intricate patterns. Build up layers of paint gradually, and allow each layer to dry before adding the next. Use different types of brushes to bathe the wood with different effects.
Try using different brush techniques, such as stippling, glazing, or masking, to achieve desired effects. Remember to step back occasionally and assess your progress, making adjustments as needed.
7. Experiment with Colors
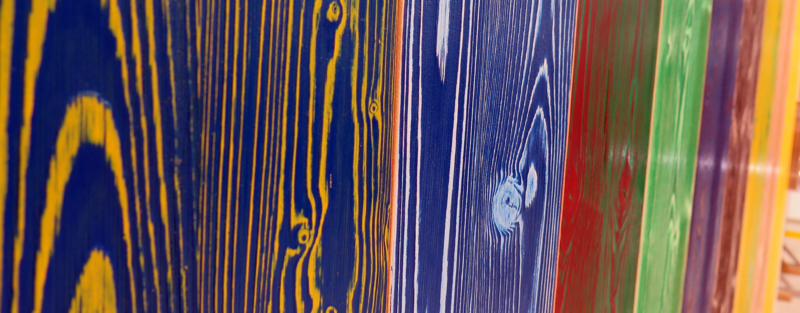
When working with acrylic paints for wood, don’t be afraid to use various shades for fun. Try mixing different hues to create unique tones that suit your artistic vision. Play with complementary or contrasting color combinations to add visual interest to your wood. Try different palettes that evoke a specific mood in your painting. Additionally, experiment with techniques such as color blending and layering to achieve unique effects. Don’t allow the paint to sit on your palette for too long, as it may dry out.
The beauty of acrylic paint lies in its versatility, allowing you to explore and express your artistic ideas freely. Overall, trust your intuition, and let your imagination guide you as you discover endless possibilities and ideas.
8. Put a Finishing Seal
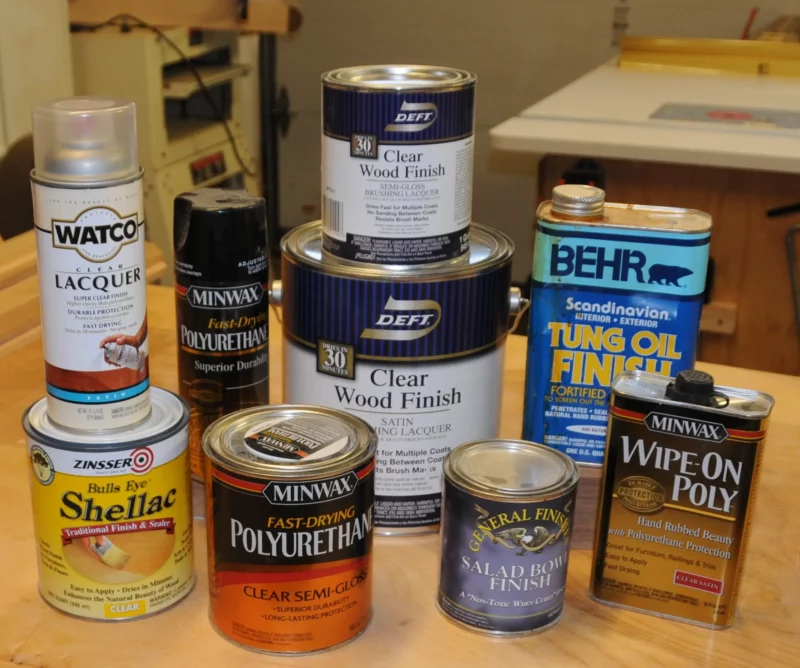
Now that you have created something you are proud of, it is time to seal it up. Once your artwork is complete and fully dry, choose a clear acrylic sealant. Make sure that it is specifically designed for wood surfaces. Applying a finishing seal is a crucial step to protect and enhance your acrylic paint for wood.
Select a finish that suits your desired look, such as matte, satin, or glossy. Using a clean brush or spray, apply the sealant in thin and even coats, following the manufacturer’s instructions for drying time and application technique.
The sealant acts as a protective barrier, shielding your painting from dust, moisture, UV rays, and general wear and tear. It also makes the colors vibrant and provides a professional, polished finish. By sealing your acrylic paint for wood, you ensure its longevity and preserve its beauty for years to come.
9. Work Quickly
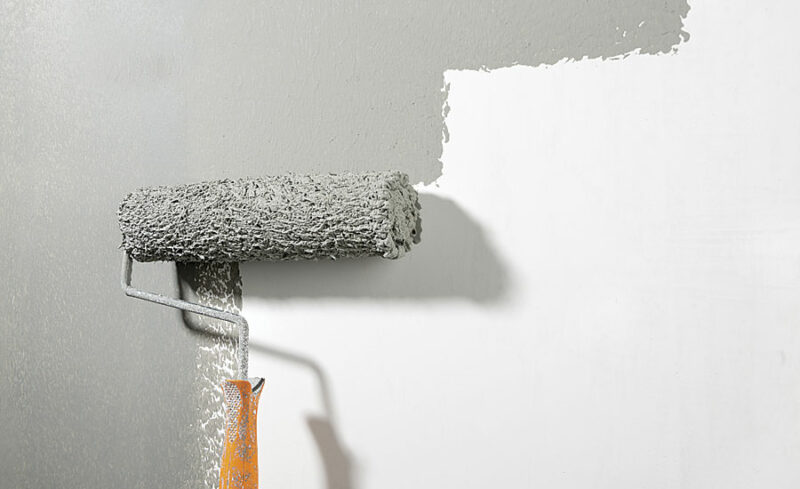
Although this step might be a bit daunting for beginners, it is a crucial part of acrylic paint for wood. It’s important to work efficiently to prevent the paint from drying too quickly. Acrylic paint for wood dries incredibly fast, so you need to keep many things in mind. First, plan your painting process and have all your materials and colors prepared and easily accessible.
This will help you work swiftly without interruptions. Next, work in small sections at a time, applying paint and blending as needed. This prevents partially dried areas from creating visible brushstrokes or uneven color transitions.
Lastly, be mindful of the temperature, wind, and humidity, as they can affect the drying time of acrylic paint. Working in a well-ventilated area can also help slow down the drying process. While you must be quick, don’t be hasty with your strokes, or it might look unprofessional.
By working quickly and efficiently, you’ll have better control over your acrylic paint application on wood, ensuring smooth, even results without unwanted drying issues.
10. Clean and Store Your Brushes Properly

Having clean brushes should be a staple. Properly cleaning your brushes after painting on wood with acrylics is essential for maintaining their longevity and optimal performance. Start by rinsing the brushes under warm water to remove any excess paint. Then, use a gentle brush cleaner or mild soap to lather the bristles and work out any remaining paint.
Gently massage the bristles with your fingers, working from the base to the tip. Rinse the brushes thoroughly until the water runs clear. Finally, lay the brushes flat or hang them upside down to dry completely before storing them.
Acrylic paints tend to harden and may damage your bristles. Regular cleaning ensures that your brushes stay in good condition and are ready for your next painting session.
11. Don’t Put Too Much Paint on Your Palette

When working with acrylic paint for wood, you have to be careful not to put too much paint on your wood. These paints dry and harden rather quickly, making them difficult to use after a point. Excess paint can lead to wastage and drying before you can use it.
Squeeze out small amounts of each color you’ll need for your project and use them in bits. You can always add more paint as needed. By using smaller amounts, you can maintain better control over your paint consistency and reduce the likelihood of it drying out too quickly.
Additionally, it allows you to experiment with color mixing and avoid the risk of accidentally contaminating your paint colors. Plan the project in your head before you pour the paint on the palette. Using smaller quantities initially will help you manage your pain more effectively and minimize unnecessary waste.
12. Work in a Ventilated Area
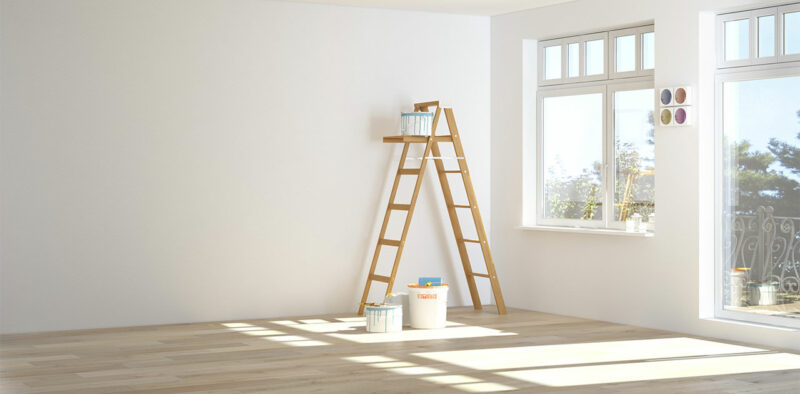
Acrylic paints release fumes and volatile organic compounds that can be harmful if inhaled in large quantities. Therefore, working in a well-ventilated area is essential when using acrylic paint for wood. Ensure you have good airflow by opening windows or doors or using a fan to circulate fresh air.
Ideally, sit in an air-conditioned room that circulates fresh air and prevents humidity simultaneously. This helps disperse fumes and prevents them from accumulating in the air.
A well-ventilated area not only provides better air quality but also prevents the buildup of heat and humidity, which can affect the drying time and performance of acrylic paints. By working in a ventilated area, you create a safer and more comfortable environment, allowing you to focus on painting your wood with peace of mind.
13. Practice and Have Fun

For novices, DIY enthusiasts, or advanced artists, painting is a deeply spiritual activity in which one pours their soul onto a canvas. You must remember to have fun throughout your artistic journey. Embrace experimentation, try new techniques, and allow yourself to make mistakes.
Practice not only helps you refine your skills but also allows you to discover your unique style and way of expression. Enjoy the process of creating art, and don’t be afraid to step out of your comfort zone.
Allow your creativity to flow freely, and trust your instincts. Remember that art is subjective, and there are no right or wrong answers. Celebrate the joy of putting paint on canvas and the satisfaction of creating something meaningful.
So, let go of any self-doubt, embrace the learning process, and most importantly, have fun as you use acrylic paints for wood.
Conclusion
Acrylic paint has proven to be a game-changer when it comes to adding color and life to wooden items. With its ability to adhere well to a multitude of surfaces, it’s no wonder why it’s a go-to choice for DIY enthusiasts.
If you’re looking to paint or renovate a household item, acrylic paint provides endless opportunities for creativity. Preparation and planning are the keys when working with acrylic paint for wood. Make sure to properly prime and prepare the surface for proper adhesion and longevity.
Experiment with different brush strokes, layering techniques, and color combinations to achieve desired results. As with any art or DIY project, the most important thing is to have fun while you are at it.


